· Paul · Getting Started · 5 min read
How to Break Down Scrap for More Money: Tools and Method
The gap between steel price and copper price on the same appliance is a few minutes with the right tools. Here's the teardown kit that pays for itself and the order of operations that gets the good metal out fast.
Almost all scrapping profit comes from one move: separating the valuable metal from the cheap metal it’s attached to. A washing machine sold whole is a steel sale; the same washer with its copper motor pulled and its stainless drum separated pays two or three times more per pound on those pieces. The skill isn’t complicated — it’s knowing what’s worth pulling and having the tools to pull it quickly. Here’s the kit and the method.
Why breaking down pays
Yards pay by grade, and a mixed item gets paid at the lowest grade in the pile. Leave a copper motor bolted inside a steel cabinet and the whole thing weighs in at light-iron price — pennies a pound. Pull that motor and it jumps to its own far-higher grade; the copper winding inside is worth dollars a pound. The same logic applies to the aluminum in a radiator, the brass on a valve, and the stainless in a drum.
Confirm what you’re separating with the magnet test — magnetic goes in the steel pile, non-magnetic gets set aside for a closer look — and the whole game becomes: get the non-ferrous out cleanly, sell the steel carcass for what it’s worth.
Start here: the kit that covers most teardowns
You don’t need saws or grinders to start. The majority of an appliance comes apart with screws and leverage, and this handful of tools handles it:
Cordless drill/driver
$$$Appliances are held together by dozens of screws and a few rivets. A cordless drill/driver turns a twenty-minute teardown into five, and drills out the rivets that hold cabinets and brackets together. The single biggest time-saver in appliance breakdown.
Look for: A compact brushless model with an adjustable clutch, so small screws don't strip. This one is sold as a bare tool and takes the same battery as the recip saw, so one battery runs both.
Pick: Milwaukee M18 compact brushless hammer drill/driver (bare tool)
Most of a teardown is removing screws — dozens of them — and a powered driver is the single biggest time-saver. Pair it with a bit set for the oddball heads manufacturers use to keep you out:
Security bit set (1/4" hex)
$Appliance and tool makers use tamper-resistant screws to keep you out: security Torx with a pin in the middle, tri-wing, spanner. A security bit set in your drill/driver opens what a standard set can't touch.
Look for: Security Torx, tri-wing, spanner, and security hex in one case, on 1/4" hex shanks that fit any drill/driver or impact driver.
Pick: DEWALT DWAX200 security bit set
When something won’t unscrew — a spot-welded panel, a glued housing, a seized bracket — leverage does what the driver can’t:
Pry bar / crowbar set
$Some things don't unscrew — they get persuaded. A set of pry bars pops appliance panels, separates glued housings, and frees seized parts without wrecking the metal you're after.
Look for: A set in a few lengths, flat and angled ends. Solid (not hollow) bars give real leverage without bending.
Pick: MAXPOWER 4-piece pry bar set
And before any of it, the two pieces of safety gear that are never optional:
Cut-resistant work gloves
$Scrap is all torn sheet metal and jagged copper. One good pair of cut-resistant gloves is the difference between a productive day and a trip for stitches — the easiest money you will ever save.
Look for: ANSI cut level A5/level 5 or higher, coated palm for grip. Buy a size that still lets you handle small parts.
Pick: Schwer cut-resistant work gloves
Safety glasses
$A $10 pair versus a metal splinter in your eye — non-negotiable the moment a grinder, saw, or snips comes out. Buy a multipack; you'll lose them.
Look for: ANSI Z87.1 rated, anti-fog if you can get it. Wrap-around styles keep sparks out from the sides.
Pick: TICONN anti-fog safety glasses
The power tools: when you graduate to volume
Once you’re doing this by the truckload rather than the piece, cutting beats unbolting. A reciprocating saw is the workhorse — it frees a compressor, drops a motor, and opens a cabinet in seconds:
Cordless reciprocating saw
$$$The workhorse of appliance teardown. Cuts a compressor free, opens a cabinet, drops a motor out — minutes instead of a wrestling match. The blades matter as much as the saw, so grab the bi-metal pack with it.
Look for: A cordless recip saw sold as a bare tool — add bi-metal metal-cutting blades, and a battery if you are not already on this platform. Never run wood blades on steel.
Pick: Milwaukee M18 FUEL Hackzall (bare tool)
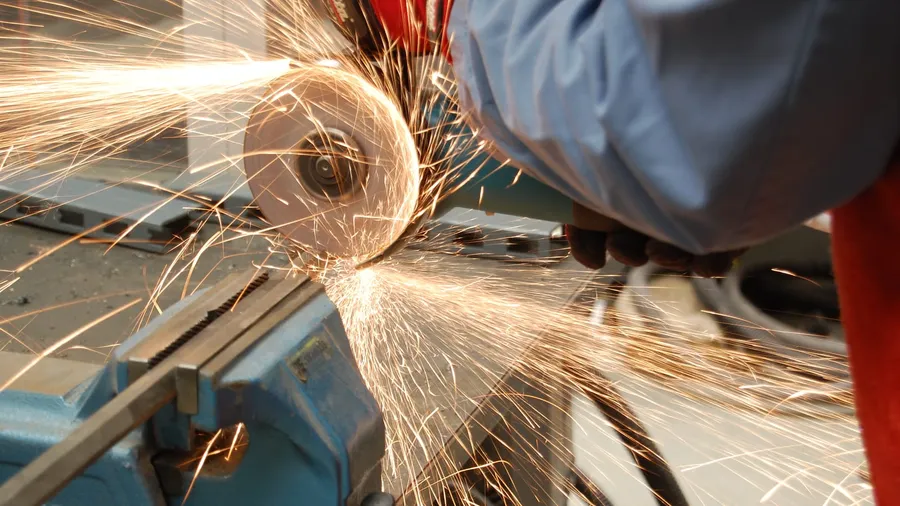
For seized bolts, thick brackets, and anything the saw can’t reach, an angle grinder with a cutoff wheel goes straight through steel:
Angle grinder + cutoff wheels
$$The bolt-and-bracket solution. When a recip saw can't reach or a bolt is seized, a grinder with a cutoff wheel goes through steel in seconds — then swaps to a flap disc to clean up.
Look for: 4.5" grinder (corded or on a battery platform you own) with a stack of metal cutoff wheels. Eye and face protection every time.
Pick: DEWALT DWE402 4-1/2" angle grinder
Neither is necessary on day one. Run the Strip or Sell calculator with your own prices before buying — the same time-versus-payout math that decides whether stripping wire is worth it decides whether a power tool is.
A general teardown, in order
Every appliance is different, but the order of operations rarely changes:
- Unplug and depower. Cut the cord (that’s insulated copper — save it). For anything with a capacitor — microwaves especially — know the safety steps before you open it.
- Magnet-test the outside so you know what the shell is before you commit.
- Pull the easy non-ferrous first — the cord, visible wiring harness, and any bolt-on aluminum or brass.
- Free the motor. It’s usually the highest-value five minutes: a few bolts and a belt or bracket. Motors grade well above steel — see how much copper is inside one.
- Separate stainless and aluminum from the steel — a stainless drum or an aluminum/copper radiator coil is worth pulling.
- Sell the steel carcass for what’s left. Put the whole thing to numbers first on the Appliance Scrap Value calculator.
When not to break it down
Breaking down always earns more per pound — but not always more per hour. For a single appliance you’re moving anyway, pulling just the motor and selling the rest whole is often the right call; a full teardown only pays when you have volume, a steady source, or an item that’s mostly hidden non-ferrous. The Strip or Sell calculator puts your time into the decision so you’re not working for pocket change.
Keep learning
- The profit logic in detail: Steel & Iron Scrap Grades — why the steel is what’s left.
- Sort what you pull in seconds with the magnet test.
- Price a motor before you pull it: How Much Copper Is in an Electric Motor.
- The full toolkit, judged on payback: Scrapping Gear.
- More fundamentals in the Getting Started guides.
- technique
- tools